
Can you get a paw print from your cat? Yes, you absolutely can! Getting a paw print from your cat can be a wonderful way to create a lasting keepsake, a special craft, or even a touching memorial. The key is to make the experience as positive and stress-free as possible for your feline friend. This guide will walk you through safe, fun, and effective methods for capturing those precious paw prints.
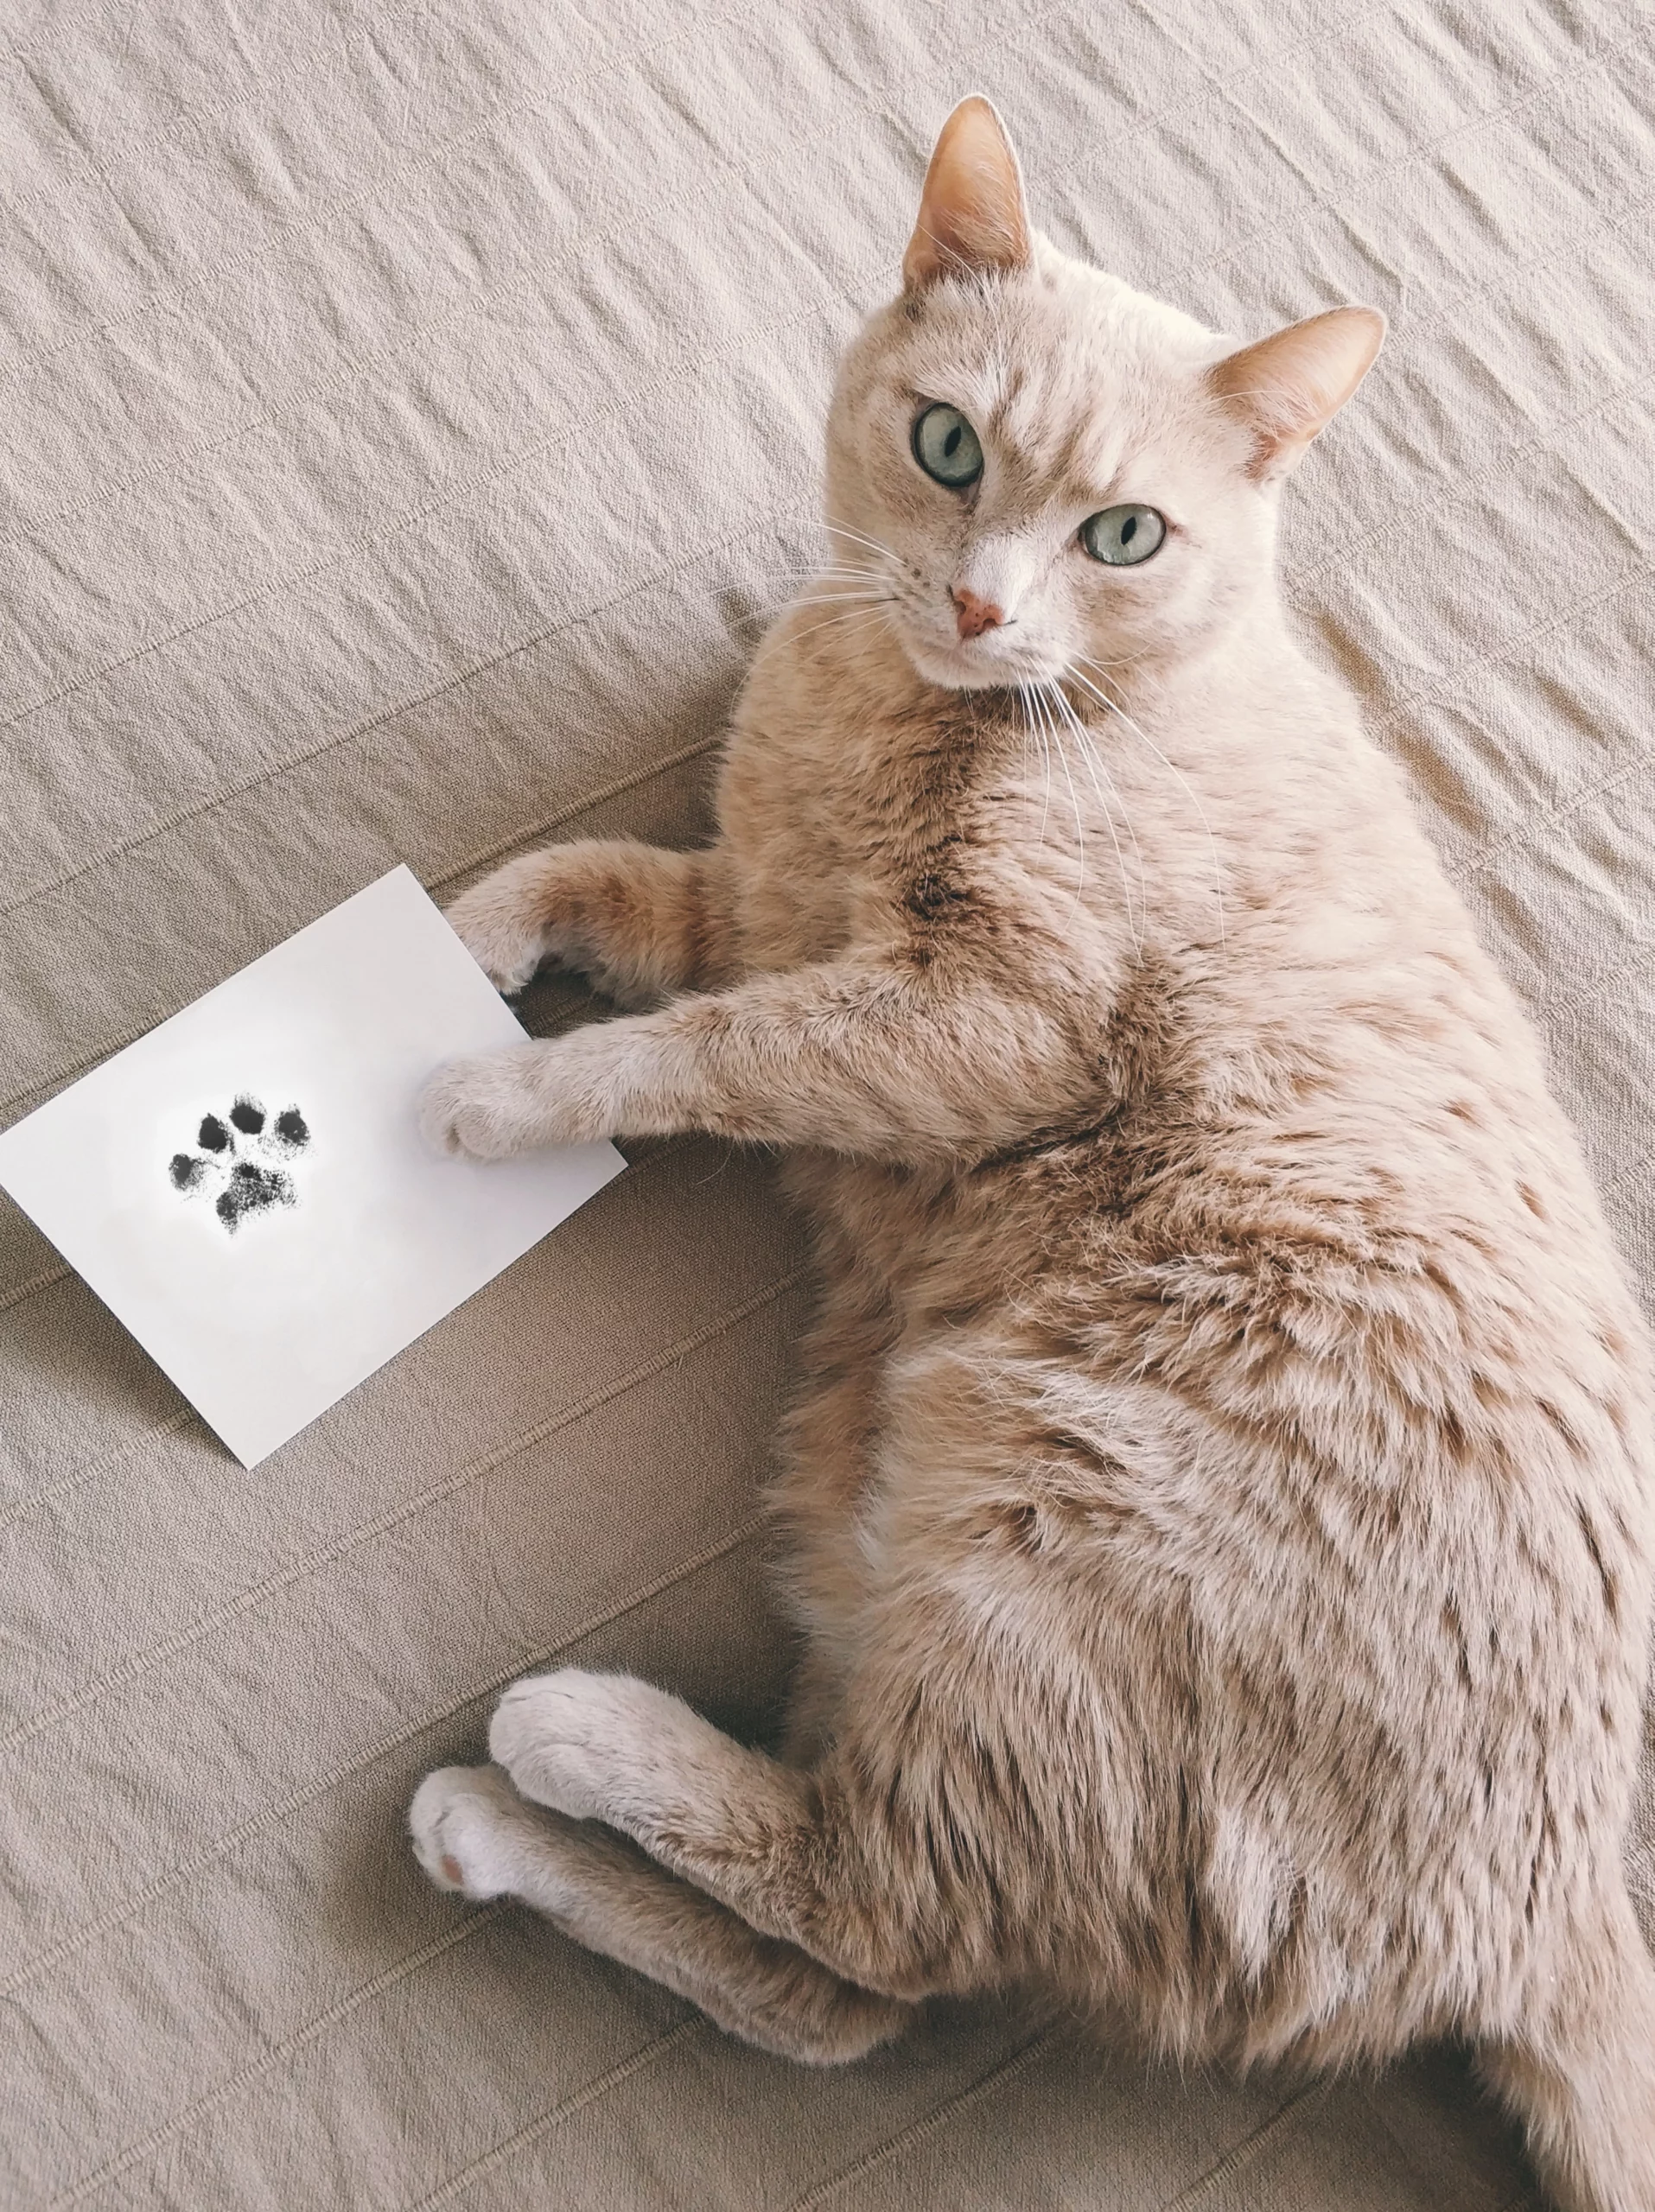
Image Source: andreashelley.com
The Joys of Cat Paw Prints
There’s something incredibly special about a cat’s paw print. It’s a unique mark, a tiny imprint of your beloved pet’s presence in your life. These prints can be transformed into beautiful pieces of art, personalized gifts, or cherished mementos. Whether you’re looking for a fun DIY cat paw print project, a way to create a lasting cat keepsake, or a way to capture a memory for a cat memorial paw print, there are several excellent methods available.
Prepping Your Cat for Paw Printing
Before you even think about ink or clay, preparing your cat is crucial. A stressed or scared cat will not cooperate, and you certainly don’t want to create a negative association with the process.
Essential Preparations:
- Choose the Right Time: Pick a time when your cat is relaxed and content. This might be after a meal, during a cuddle session, or when they are naturally sleepy. Avoid times when they are playful, anxious, or just waking up.
- Positive Reinforcement: Have plenty of your cat’s favorite treats and praise ready. The goal is to make this a positive experience. Associate the process with good things.
- Gather Your Supplies: Have everything you need within arm’s reach before you start. This minimizes the time you’ll need to hold your cat still.
- Gentle Handling: Always approach your cat calmly. Speak in a soft, soothing voice. If your cat is hesitant or shows signs of distress, stop and try again another time. Never force your cat.
Getting Your Cat Comfortable:
- Paw Massage: Gently massage your cat’s paws. This helps them get used to having their paws touched and can even encourage them to extend their toes, which is helpful for printing.
- Introduce the Materials: Let your cat sniff and investigate the materials you’ll be using (e.g., the ink pad, the paper, the clay). This helps demystify the items.
Safe and Fun Methods for Cat Paw Prints
There are several ways to get a paw print from your cat, each with its own advantages. The most important factor across all methods is using non-toxic ink for pet prints or materials that are safe for your cat’s skin.
Method 1: Using a Cat Paw Print Ink Pad
This is perhaps the most common and straightforward method for making cat paw prints.
What You’ll Need:
- A cat paw print ink pad specifically designed for pets. These are usually non-toxic ink for pet prints and are easy to clean.
- Paper, cardstock, or another surface for the print.
- Wipes or a damp cloth for cleaning your cat’s paw afterward.
- Treats for positive reinforcement.
Step-by-Step Guide:
- Set Up: Lay out your paper and have the ink pad and cleaning supplies ready.
- Gentle Paw Handling: Gently hold your cat’s paw. If they are relaxed, they might even extend their toes slightly.
- Ink the Paw: Gently press the underside of your cat’s paw onto the cat paw print ink pad. Ensure all the pads of their toes and the main heel pad make contact with the ink. You don’t need to press too hard; the ink pad is designed to transfer ink with light pressure.
- Important: Only ink one paw at a time.
- Transfer the Print: Carefully press the inked paw onto your chosen surface. Hold it steady for a second to ensure a clear imprint.
- Clean Immediately: This is crucial! Use a damp cloth or pet-safe wipes to thoroughly clean your cat’s paw immediately. Residual ink can be uncomfortable for your cat and they might try to lick it off.
- Reward: Give your cat plenty of praise and a delicious treat for their cooperation!
- Dry and Preserve: Let the print dry completely before touching or storing it.
Tips for Success:
- Practice Makes Perfect: Your first attempt might not be perfect. Don’t get discouraged.
- Two-Person Job: If your cat is wriggly, having a second person to gently hold and soothe your cat while you take the print can be very helpful.
- Types of Ink Pads: Look for “mess-free” or “no-mess” ink pads. These typically have the ink embedded in a surface that the paw touches, rather than requiring you to apply ink directly. This is generally the safest and cleanest option for how to take paw prints from cats.
Method 2: Creating a Paw Print Impression (Clay or Dough)
This method creates a beautiful 3D cat paw print impression that can be dried and kept as a lasting cat keepsake.
What You’ll Need:
- Pet-safe molding clay or homemade salt dough (recipe below). Ensure all ingredients are non-toxic.
- Rolling pin.
- A straw or small cookie cutter for making a hole (if you want to hang it).
- A knife or scraper to trim edges.
- A smooth surface for rolling out the dough/clay.
- Wipes or a damp cloth for cleaning.
- Treats.
Homemade Salt Dough Recipe:
- 2 cups all-purpose flour
- 1 cup salt
- ¾ cup water (adjust as needed for consistency)
Step-by-Step Guide:
- Prepare the Dough/Clay: If using salt dough, mix the flour and salt in a bowl. Gradually add water, mixing until a firm but pliable dough forms. Knead it for a few minutes. If using pre-made pet-safe molding clay, follow the package instructions.
- Roll Out the Dough: On a lightly floured or smooth surface, roll out the dough or clay to about ¼ to ½ inch thickness.
- Cut Your Shape: Use a cookie cutter or a knife to cut out your desired shape (circle, heart, etc.).
- Make the Impression: Gently hold your cat’s paw and press it firmly into the dough/clay. You want to get a good depth of impression for all the paw pads.
- Safety First: Ensure your cat’s paw is clean before pressing it into the dough.
- Add a Hole (Optional): If you want to hang your cat keepsake, use a straw or small cookie cutter to make a hole at the top of the impression before the dough dries.
- Clean Paw: Gently wipe your cat’s paw clean with a damp cloth.
- Dry the Impression:
- Air Drying: Leave the impression to air dry for 24-48 hours. Flip it over after the first 12-24 hours to ensure it dries evenly.
- Baking: For salt dough, you can bake it at a low temperature (around 250°F or 120°C) for 1-2 hours, or until completely dry and hard. Keep an eye on it to prevent browning.
- Decorate (Optional): Once dry, you can paint or decorate your cat memorial paw print or keepsake. Seal it with a clear, non-toxic sealant if desired.
Tips for Success:
- Dough Consistency: The dough should not be too sticky or too dry. Adjust water slightly if needed.
- Gentle Pressure: Don’t push too hard, or you might hurt your cat’s paw.
- Clean Edges: You can use a damp cloth to smooth the edges of the impression before it dries.
Method 3: Using a Pet Paw Print Kit
Many excellent pet paw print kit options are available commercially. These kits typically include everything you need and are designed for ease of use and safety.
Types of Kits:
- Ink Pad Kits: Similar to Method 1, but often come with a specialized pad and multiple sheets of paper.
- Clay Impression Kits: These include air-dry clay or dough that is specifically formulated for pet use.
- Inkless Kits: These kits use a special paper and a “magic” wipe or pen that transfers the paw print without visible ink. This is incredibly clean and safe.
How to Use a Kit:
Follow the specific instructions provided with your chosen pet paw print kit. Generally, the process will be very similar to the ink pad or clay methods described above, with the kit components designed for optimal results and safety. Always prioritize non-toxic ink for pet prints or pet-safe materials.
Method 4: DIY Cat Paw Print Crafting
Beyond just simple prints, you can get creative with your cat crafting endeavors.
Ideas for Cat Paw Print Crafts:
- Paw Print Ornaments: Use clay or dough impressions (as in Method 2) to create Christmas ornaments or decorative pieces.
- Paw Print Artwork: Frame a beautiful ink print and create a gallery wall with multiple prints from your cat or other pets.
- Paw Print Cards: Make personalized birthday or holiday cards for friends and family featuring your cat’s unique mark.
- Paw Print Jewelry: Some kits or DIY methods allow you to create small, personalized pendants or charms with a paw print impression.
Creating a Cat Memorial Paw Print:
When the time comes to say goodbye to a beloved feline companion, a cat memorial paw print becomes an incredibly precious item. The methods described above, particularly clay impressions and ink prints, are perfect for creating a lasting tribute.
- Patience and Gentleness: During this sensitive time, extra patience and gentleness are paramount.
- Preserving the Memory: A paw print captured on a beautiful piece of paper or a durable clay impression can bring comfort and a tangible connection to your furry friend.
- Professional Services: Some pet crematoriums or memorial services offer to take paw prints as part of their services, often using specialized equipment to ensure a perfect and dignified impression.
Safety Considerations When Taking Paw Prints
Your cat’s safety and comfort should always be the top priority.
What to Avoid:
- Unsafe Inks: Never use regular craft inks, permanent markers, or any ink not specifically labeled as non-toxic ink for pet prints. Your cat could ingest these if they lick their paws.
- Harsh Chemicals: Avoid using any cleaning products that contain harsh chemicals on your cat’s paws.
- Force: Never force your cat to participate. If they are showing signs of stress (hissing, growling, trying to escape, flattened ears, dilated pupils), stop immediately.
- Leaving Ink on Paws: Always clean your cat’s paws thoroughly after using any ink-based method.
- Overly Sticky Materials: If using clay or dough, ensure it doesn’t stick to your cat’s fur or skin in a way that causes discomfort.
Ensuring a Positive Experience:
- Short Sessions: Keep the process brief. A few minutes is usually all you need.
- Positive Reinforcement: This is key to making it a good experience for your cat.
- Read Your Cat: Pay attention to your cat’s body language. If they are unhappy, stop.
Troubleshooting Common Issues
Even with the best intentions, you might encounter a few hiccups.
My Cat Won’t Hold Still!
- Try a Different Time: Perhaps your cat is just not in the mood. Try again later or the next day.
- Two-Person Approach: As mentioned, a helper can make a big difference.
- Luring with Treats: Hold a high-value treat just out of reach, encouraging them to extend their paw slightly as they reach for it.
- Post-Nap Calm: Try when they are drowsy and relaxed, perhaps after a good nap.
The Print Isn’t Clear.
- Ink Pad Issues: Ensure the ink pad is not too old or dried out. If using a DIY ink pad, ensure the sponge is saturated but not dripping.
- Too Much or Too Little Pressure: Experiment with gentle pressure. Too much can blur the print; too little won’t transfer enough ink.
- Paw Not Clean: Sometimes fur or debris can interfere with a clear print.
- Dough/Clay Too Thick or Thin: Adjust the thickness for a better impression.
My Cat Licked the Ink!
- Immediate Cleaning: This highlights the importance of cleaning paws right away. If your cat does lick the ink, wash their paw thoroughly with plain water and monitor them. If you used a certified non-toxic ink for pet prints, it should be safe, but it’s always good to be cautious.
Frequently Asked Questions (FAQ)
Q1: What is the best way to get a paw print from my cat?
A1: The best way is subjective and depends on your cat and what you want to achieve. Ink pads and inkless kits are quick and easy for flat prints. Clay or dough is great for 3D impressions and keepsakes. Always prioritize using non-toxic ink for pet prints or pet-safe materials and ensuring your cat is comfortable.
Q2: Can I use regular ink to get a cat paw print?
A2: No, it is not recommended. Regular ink may contain chemicals that are harmful to your cat if ingested. Always use inks specifically labeled as non-toxic ink for pet prints.
Q3: How long does it take to get a paw print?
A3: The actual printing process is very quick, usually just a minute or two. The drying time for clay or dough impressions can take 24-48 hours or longer, depending on the method.
Q4: What is a pet paw print kit?
A4: A pet paw print kit is a commercially available package containing all the necessary materials to create a paw print from your pet. These kits often include ink pads, special paper, clay, or inkless transfer sheets, and instructions.
Q5: How do I make sure the ink is safe for my cat?
A5: Look for products specifically designed for pets that state they are non-toxic ink for pet prints. Reputable pet supply stores and online retailers will carry these. If you are making your own ink pad, ensure you use a safe, water-based, non-toxic paint or ink.
Q6: What if my cat doesn’t like their paws being touched?
A6: Start slowly with gentle paw massages. Offer treats and praise. If your cat consistently resists, it’s best not to force them. You might need to try a different approach or accept that this particular craft might not be for your cat.
Q7: How can I preserve a cat paw print forever?
A7: Clay or dough impressions that are properly dried and sealed (with a clear, non-toxic sealant) can last for many years. High-quality ink prints on acid-free paper, stored away from direct sunlight and moisture, can also be preserved for a long time. Framing your prints properly will also help protect them.
Q8: What are good ideas for cat crafting with paw prints?
A8: Paw print crafts can include making ornaments, cards, framed artwork, custom mugs (using appropriate paints), or even small jewelry pieces. A cat memorial paw print is a particularly meaningful craft.
In conclusion, capturing your cat’s paw print can be a delightful and rewarding experience. By choosing safe materials, being patient, and making it a positive interaction for your feline companion, you can create cherished memories and beautiful keepsakes that you will treasure for years to come. Happy crafting!